VMware player is VMware’s free virtualization machine software for users to use. It can be used to run Linus, and Windows operating system within a windows in Ubuntu, so you do not have to dual boot your PC. It is very easy to use, but you have to use Terminal to install it in Ubuntu since it is not a .deb file.
1. Go to Applications, Accessories and terminal short cut on the menu bar on the top of your screen.
2.Type the following command lines in Terminal. Make sure .bundle file for VMware is in your USER folder, and you type the correct .bundle file name on your computer.
~$ sudo aptitude install build-essential linux-kernel-headers linux-kernel-devel
~$ gksudo bash ./VMware-Player-2.5.2-156735.i386.bundle
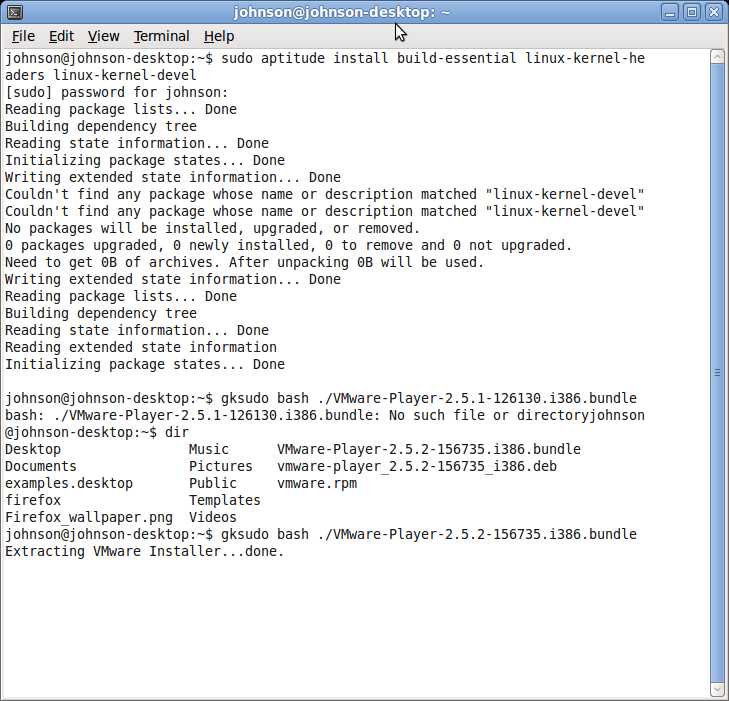
3. VMware installation process will begin if you type everything correctly
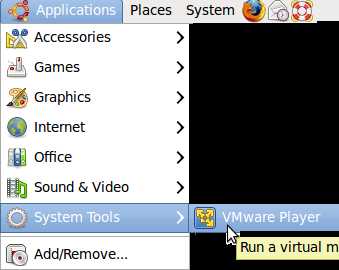
4. You can find the VMware player shortcut for VMware at Applications > System tools > VMware player.
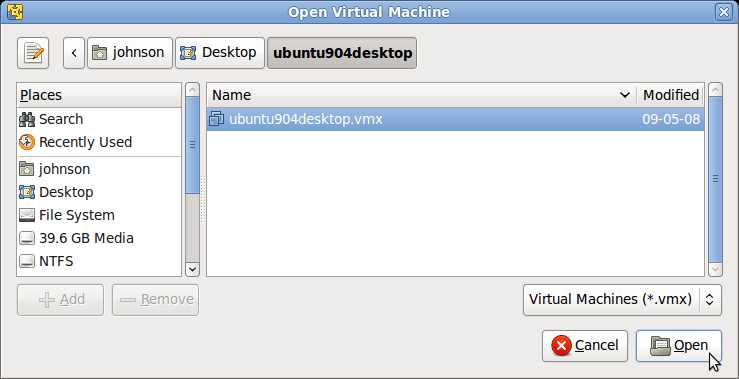
5. Click “Open an existing Virtual Machine” button on VMware player program.
6. Find your virtual machine file which have a .vmx file extension.
Â
6. Your Virtual Machine will start now.
Nice software instructions. I like the software.