Drive imaging is when software makes an exact image of a hard drive and all it’s contents and save it to a file or multiple files which you can use to restore your hard drive with. DriveImage XML is a free disk imaging program which uses an XML file to instruct your computer to re-image your drive. DriveImage XML is very easy to use.
Download it at http://www.runtime.org/driveimage-xml.htm
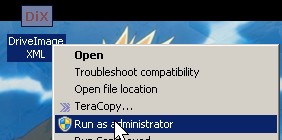
1. You need to run it as administrator by right clicking it and picking “run as administrator” from the right click menu.

2. Click the Backup option on the right sidebar, click the drive you want to image from the drives menu, and click next.

3. A wizard will Start, and Click Next.
 
4. Adjust the settings to your needs, and click next.

5. Wait, and Click Finish when Image is done.

Restoring your drive is very simple, you can just need to click a few buttons.
1. Click the restore option from the left sidebar and the drive you want to restore, and click next.

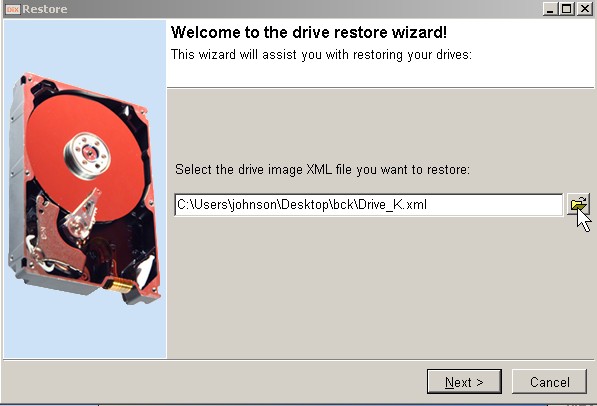
2. Click on the folder button to select your Drive image file.

3.Open the file which should be a XML file.

4.Click Next button.

5. Read the restore instructions, and make changes if needed. You can click next if you do not to make changes.

6.Read the information and  Click Next.Â

7. Read the message box and Type the Disk that the message tells you to type in the text box. Click OK

8. Wait and click Finish.

Congratulations, now you know how to backup and restore your files with DriveImage XML
Thats really nice article and very helpul.Thank you.