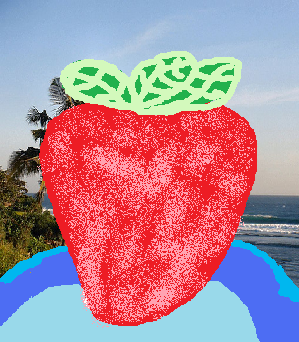
This tutorial talks about the benefits of saving your picture files as PNG instead of Jpeg, or Gif. Jpegs are only good for Photos with a lot of colours. PNG are good for saving clipart and photoquality pictures as well. It is a very versatile picture format.
But, gif are still the best for animated gifs.
Benefits
Small Picture size
No blurryness when saving images with more then 256 colours or less.
Have better colour saturation when saving images with more then 256 colours.
Sample of PNG file saved with MS Paint. Notice how sharp the clip art and vibrant the photo background looks. The Strawberry clipart has nice sharp solid colours and the photo background looks like a sharp vibrant photo.
 Strawberry Saved as PNG image file in MS paint.Â
Using Jpeg to save this picture file is a bad idea since it Makes the Picture looks blurry on the Strawberry, and the solid blue areas on the bottum. Look very closely at the strawberryies leaf, and the edge on the blue plate, and you notice a Slightly blurry areas. The photo looks nice, but the clip art of the strawberry looks kind of blurry if you stare long enough.
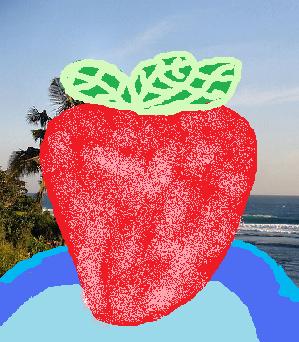 Strawberry saved as Jpeg in MS Paint.
Gif also offers very bad results since it is limited to only 256 colours, so if you have more then 256 colours in your picture it will look like a comic book with only a few colours. Looks like a comic book which only used 256 colours or less to draw.
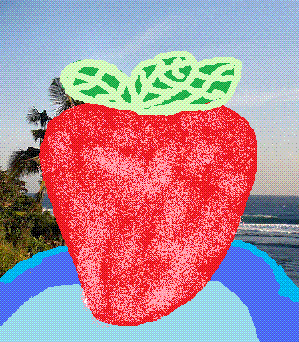 Notice the lack of colour and weird paterns in some areas.
Now that you learned why PNG is good for saving images to be posted on the web. You probably want to learn how to save your newly created pictures as PNG picture file. I will you use MS paint to show you how you can save pictures as png. The process of saving the pictures to PNG should be the same for Photoshop, Paint, Gimp, Paint Shop Pro, etc.
It is as simple as saving your pictures as Jpegs, but the only difference is you have to pick PNG from the Save menu instead of jpeg.
1. Go to File>Save As
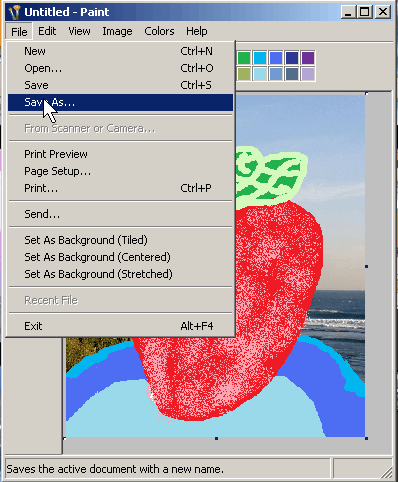
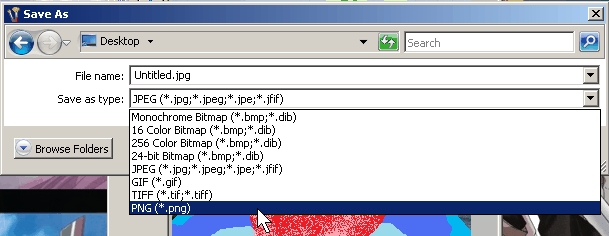 Pick PNG
3. Lastly, Name your file and press Save
 Name File and Press Save
Sadly, you cannot convert your blurry Jpegs or badly coloured images to png hoping you can fix the problem, so once you are done with creating your image. You should save it to PNG immediately or before you begin editing your photo and when you are done.